
Applies to: DH81NK/DH41NK/DM21O/DM31O/DL81A/DH81S/DH81NG/DN81NB/DM41G/DN41CJ/DN81BJ/DN61EC/DG81W/DG61X/DG41T/DT81DQ/DT41DC/DT61ER/DG41BE/DG81BE/DT81BU
CMS can help you to manage your DVR/NVR both locally and remotely. But before adding your DVR/NVR to CMS,
please go to the Main menu-->Info-->Version to make sure NAT status is connected. If you have a problem, please click this link for help.
https://help.annke.com/hc/en-us/articles/360000250141
Here is new CMS software:
for Mac:
for windows computer:
https://download.annke.com/document/Computer_Software/General_Bate_CMS_V3.1.0.9.T.20190306.exe
Then you can follow the steps below to add NVR/DVR to your CMS.
1 Download CMS and install it on your computer according to the instruction in the download file.
2 Double click the icon ![]() to open CMS, the default User Name is super, the password is blank (no password).
to open CMS, the default User Name is super, the password is blank (no password).
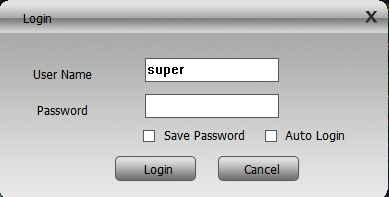
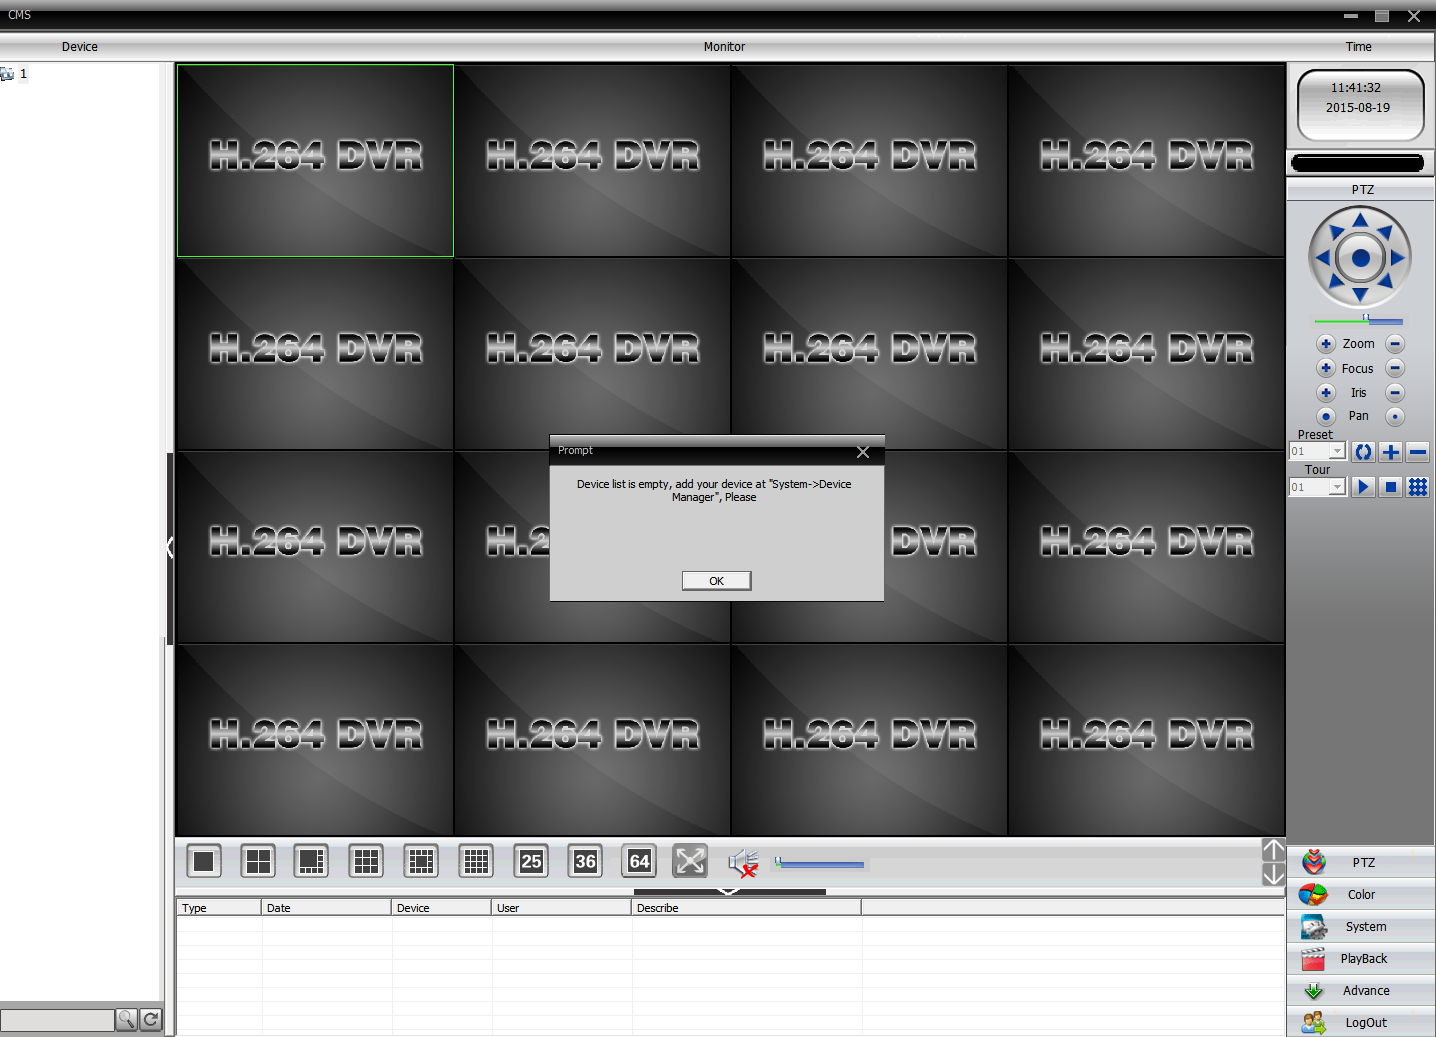
3 For the first time login, you will see the interface as below.
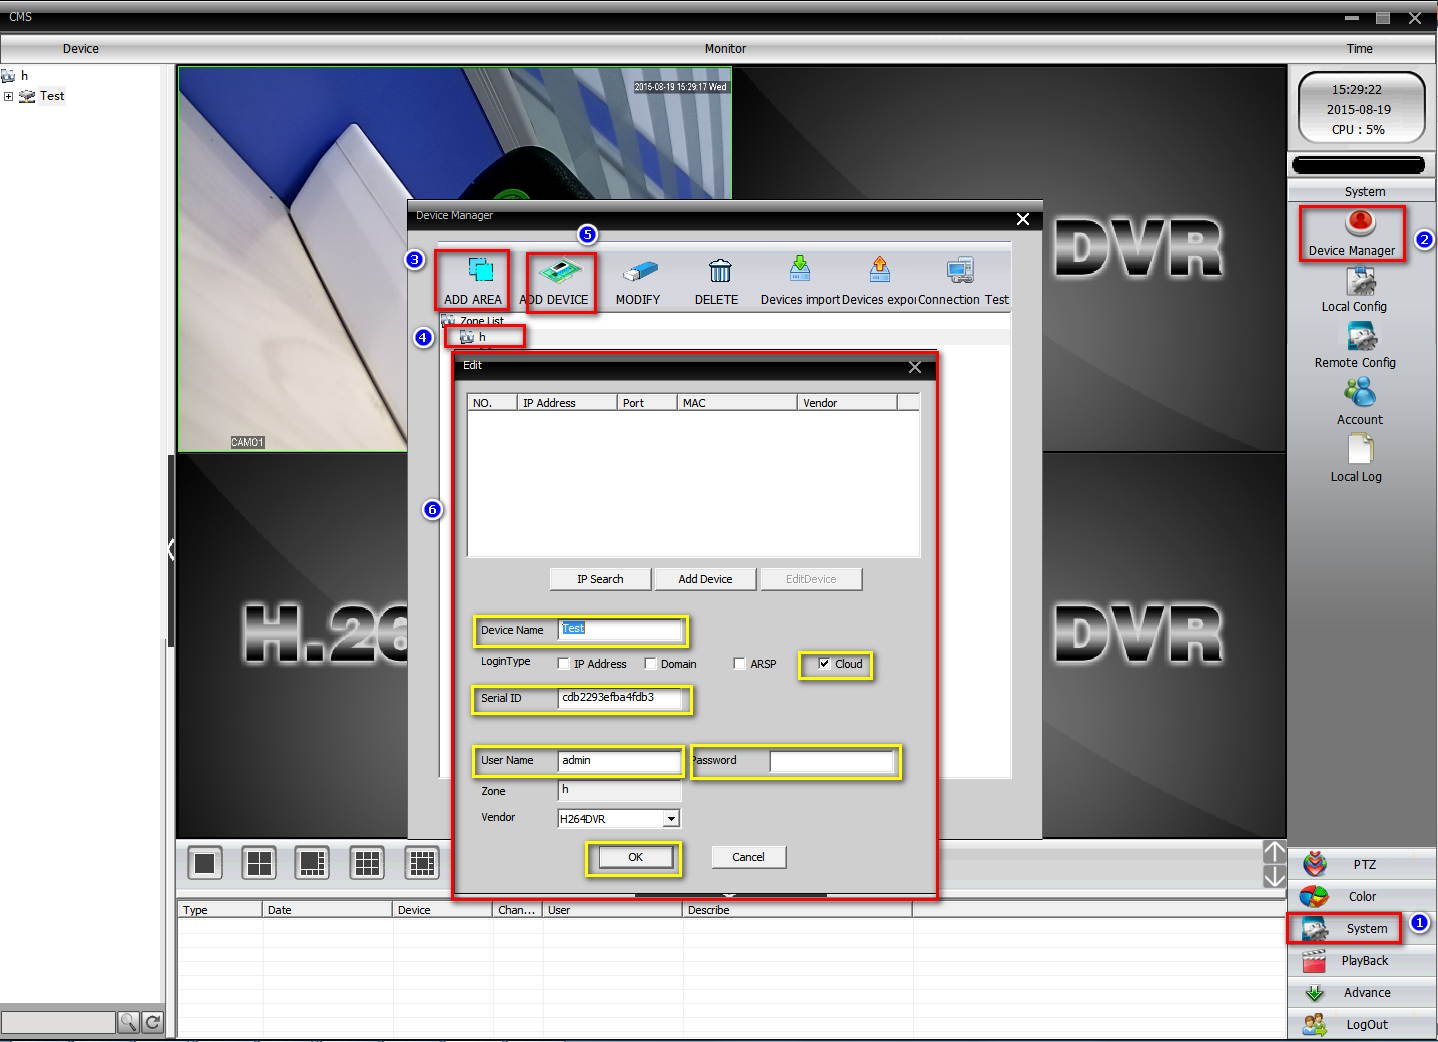
4 To add DVR/NVR, you can click the System menu on the bottom right corner. Then go to Device Manager, click ADD AREA to create a zone.
Name the zone yourself and click OK.

5 After adding an area, click the area name you created then click on  to add your DVR/NVR.
Device Name: name it yourself
Login type: choose Cloud
Serial ID: Here is a method to find Serial ID
https://help.annke.com/hc/en-us/articles/360000248422
User Name/Password: default is admin and no password, same as your DVR
Click “ OK” after you have done the above parameters, you could double click to open this device.
6 After you add your DVR successfully, you can view and manage your DVR on CMS.

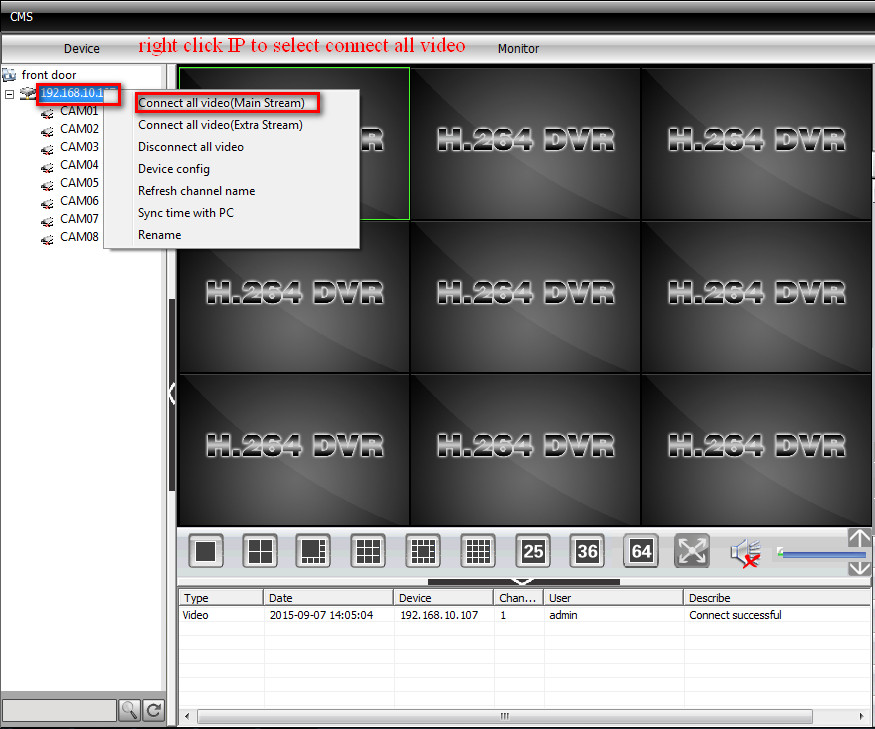
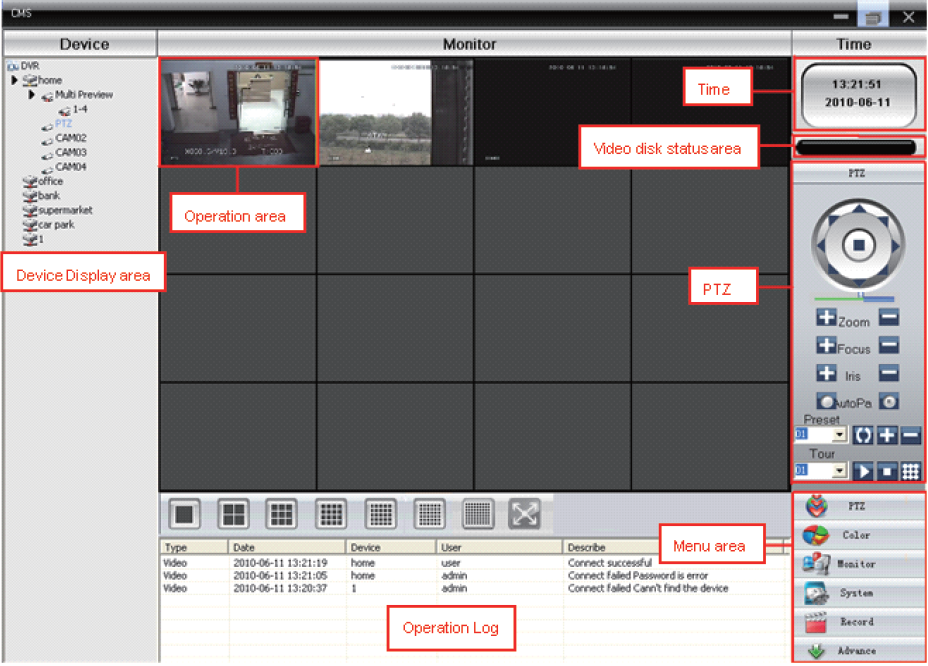
7 Here is the introduction to the CMS interface.
Note: If you have a problem adding DVR/NVR to CMS, please double-check the connection between
your DVR/NVR and the Internet and upgrade your CMS to the latest version.
Comments
0 comments
Article is closed for comments.