Applies to: All Annke DVR Kits
Before you start:
Check that the voltage of the extra power supply is the same as the DVR's requirement, and the ground connection is working properly.
The guidance for the installation:
1. Description of Panels

- Power LED: Turns yellow when the DVR is powered up.
- HDD LED: Turns red when data is being read from or written to HDD.
- Network LED: Turn yellow when network is connected.

- VIDEO IN: BNC interface for TVI and other analog video input.
- HDMI: HDMI video output connector.
- AUDIO OUT: RCA connector for audio output
- USB Port: USB port for mouse, USB drive and other additional devices.
- Power Supply: 12V DC power supply
- GND: Ground(needs to be connected when NVR starts up).
- Network Interface: Connector for network
- AUDIO IN: RCA connector for audio input
- VGA: VGA video output connector.
2. Important reminder
- You can record and playback only after the hard disk is installed. Otherwise, you can only preview.
- Make sure that the plug is firmly connected to the power socket. *Do not drop the camera or subject it to physical shock to avoid damage.
- Do not touch the lens of the camera with fingers. If cleaning is necessary, use a clean cloth with a bit of ethanol and wipe it gently.
- Do not place the camera in extremely hot, cold(the operating temperature shall be -40°C to 60°C), dusty or damp locations, and do not expose it to high electromagnetic radiation.
- The recommended installation height of the camera is more than 2 meters.
- ln the scope of camera monitoring, it should try to avoid large areas of all black objects, open spaces, water and other objects that absorb infrared light, otherwise, the night vision effect will be reduced.
- The installation angle of the camera is very important. Do not obstruct the edges of the image, as this will result in poor image quality, and do not aim the camera at the sun other extra bright places.
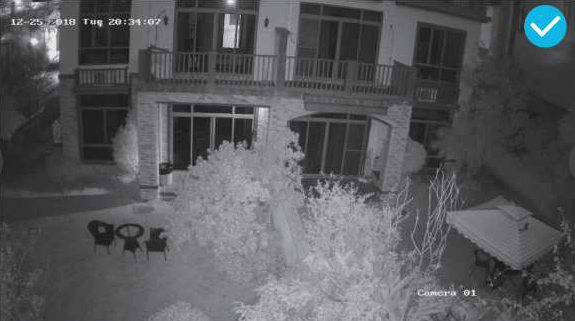

3. Connect your system
A: Connect your Camera to the video cable.
B: Connect the video cable to the DVR.
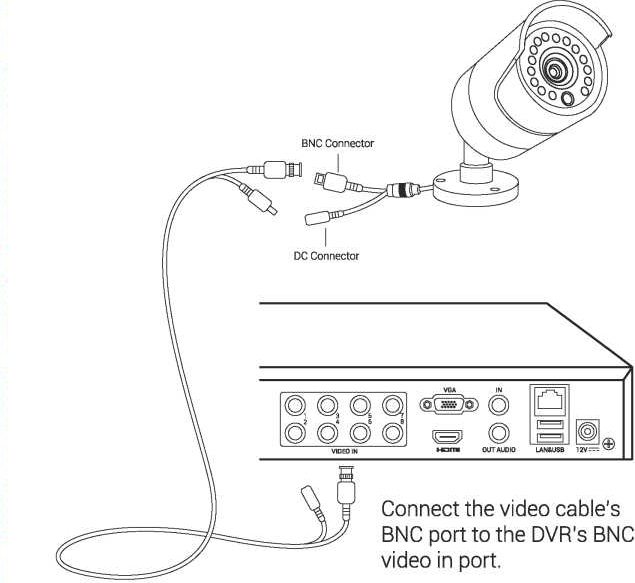
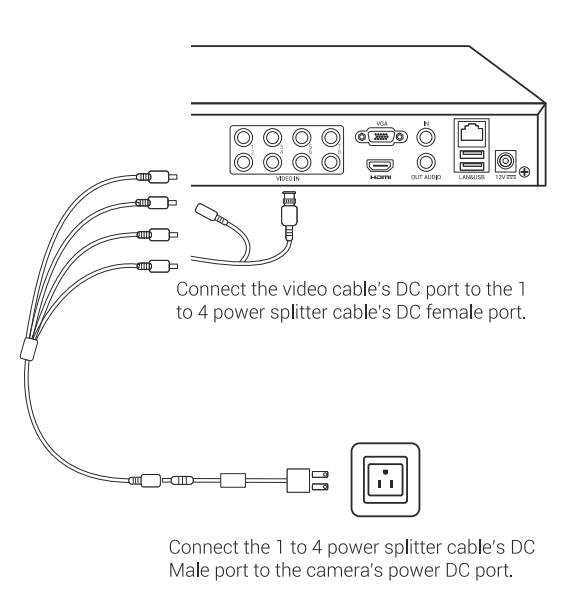
C: Connect the video cable to the 1 to 4 power splitter cable.
D: Connect the 1 to 4 power splitter cable to the camera's power.
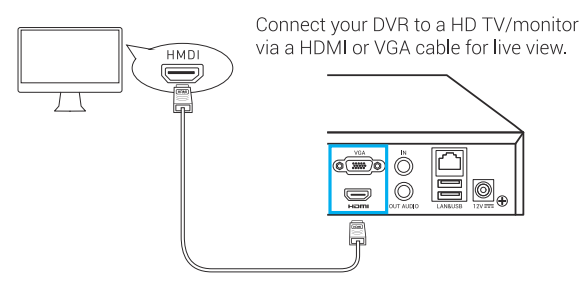
E: Connect your DVR to an HD TV/monitor.
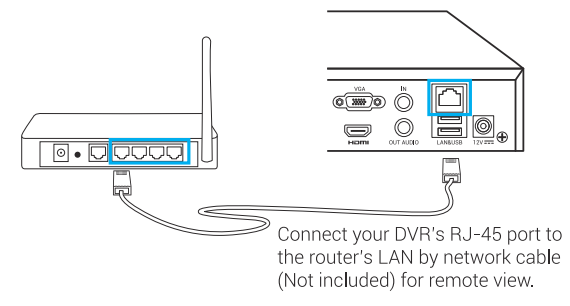
F: Connect your DVR to the router.
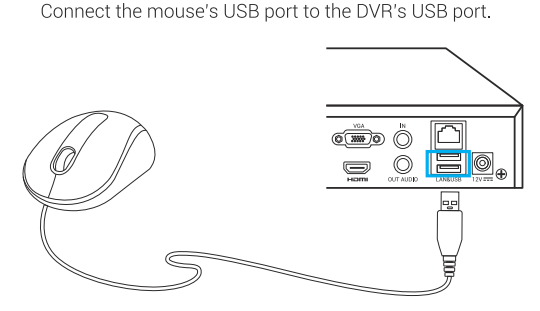
G: Connect the mouse to the DVR.
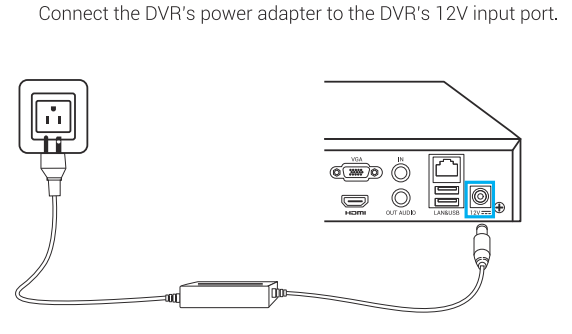
H: Connect the DVR's power adapter
4. Connection diagram

When you have installed, you can start up the DVR
Note: Proper startup and shutdown procedures are crucial to expanding the life of the DVR.


Comments
0 comments
Article is closed for comments.