Applies to: NW41V/N441H/N441K/N28WEB/N441B/N441D/N441L/N44PAN/N44PAJ/N34WDB/N34WDD/N44WEB/N44WED/N44WEC/NW41V/N44WBD/N48WHP/N48WHE/N48WHR/WE400/WL400
Applicable situation: Generally speaking, the cameras in the package were set up wirelessly to connect NVR when they were produced in our factory. However, there will inevitably be some special cases, such as the following:
- If you find you can not see the camera‘s image on a monitor, it may be because the camera lost wifi connection to NVR. You need a config wireless connection again.
- If you replace the current cameras with another camera, you need to set up a wireless connection for the new camera again.
- If you replace a new NVR, you need to set up a wireless connection for every camera again.
Here are the steps for you:
- Connect the camera to NVR's LAN port by ethernet cable.
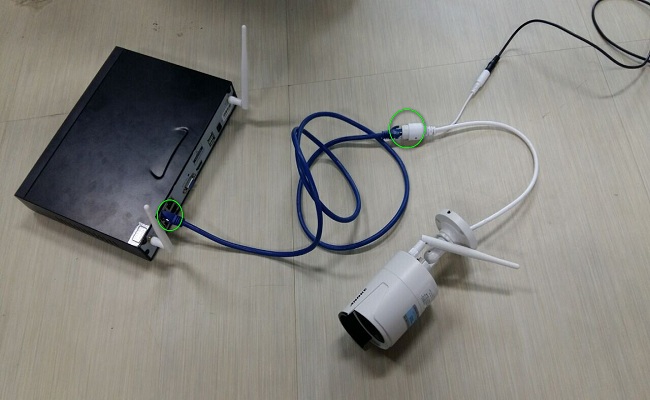
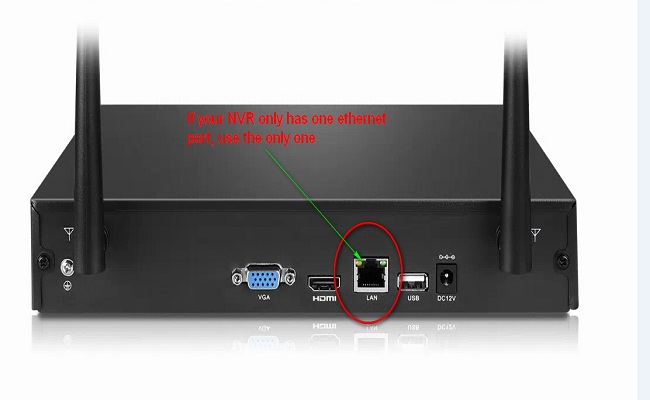
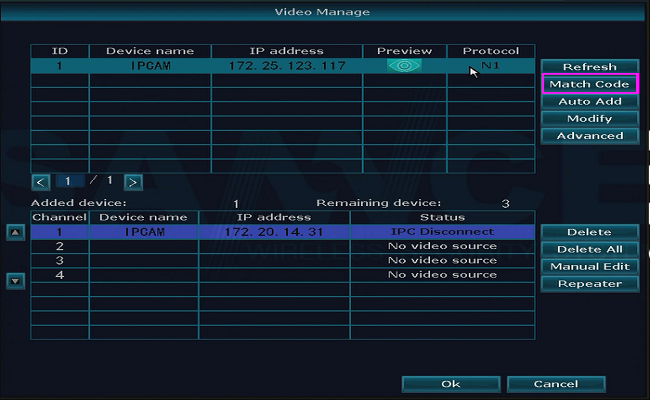
- Please right-click the mouse and go to Video Manage page, please click Refresh to detect the IP address of the camera.
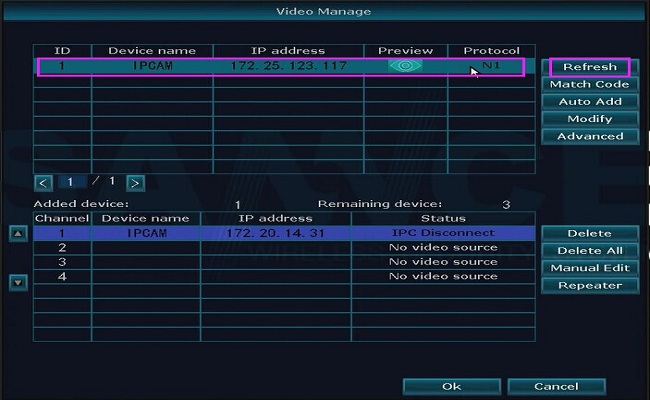
- Then please go to the below section, the Adding device part.
a) Choose the channel which you want to add the camera, please be sure the channel you choose status is “No video source".
b) If the status doesn't show the "No video source" but such as " IPC Disconnect", please choose that channel and click the "Delete" button on the right side. Then choose a channel should be "No video source" to add to the NVR.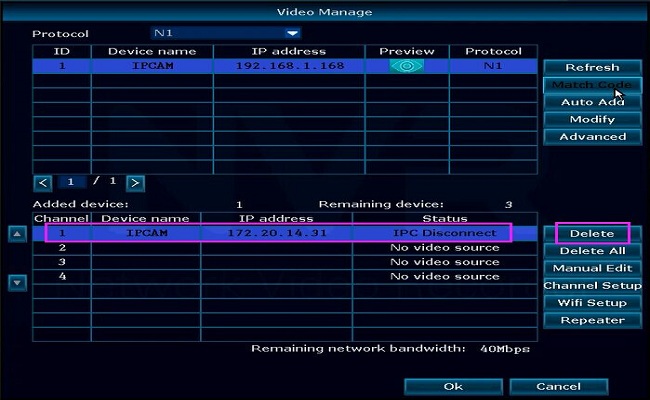
- After that, please back to the upper part. Choose the Channel, and click "Match Code". Then you can see the searching camera, and it pops up the message that it says"Put into channel successfully" when you see this words, please kindly wait for 5 more seconds and then click exit.
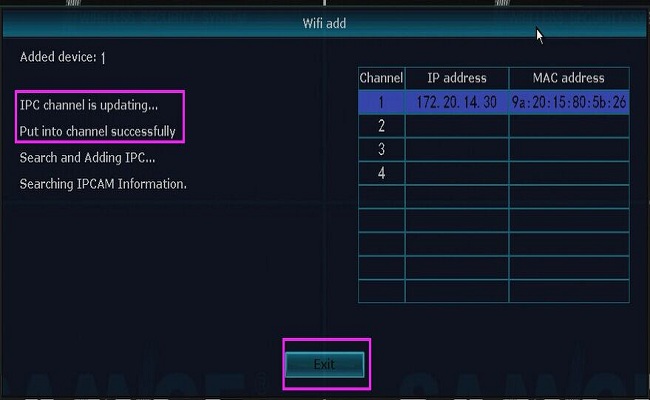
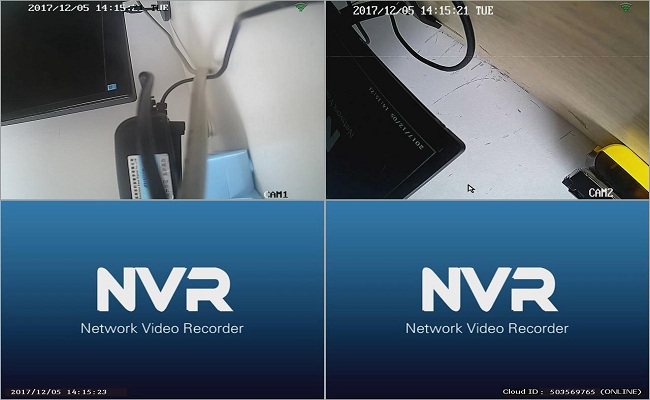
- Now, you can see the camera's image on the TV or the monitor again. You can try this way to repair the camera which you can‘t see to your NVR one by one. When you are adding one, please unplug other cameras.


Comments
0 comments
Article is closed for comments.