
Applies to: I21AE/I21AF/I41DQ/I61DQ/I61DR/I61DS
Purpose:
If the wireless camera is going to be connected to a wireless network, perform the following task to add the wireless camera manually.
Before you start:
- Power on the wireless camera.
- Make sure the phone is connected to Wi-Fi.
- The device should connect to the same Wi-Fi as your phone.
- You are adding a device, and the device is offline.
Steps:
- On the Annke Vision page tap
 , Tap Manual Adding to enter the Add Device page.
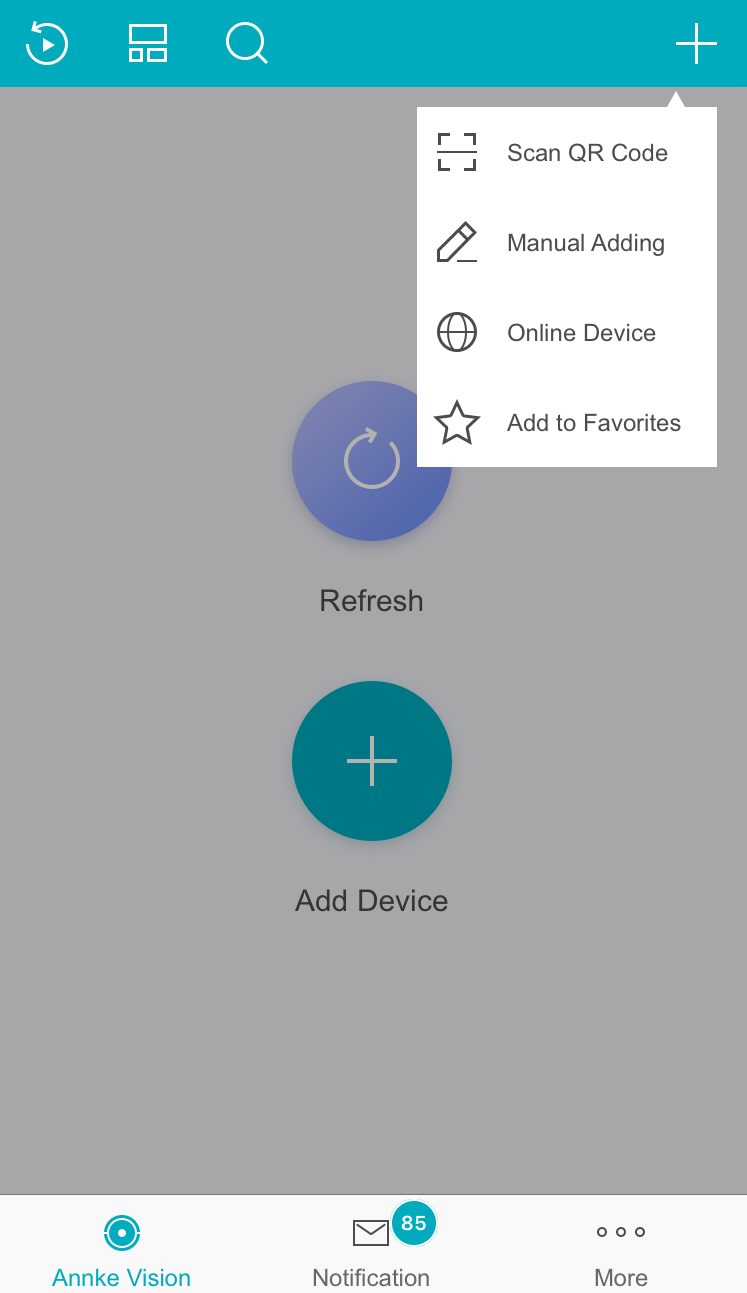
- Select Annke Vision Domain as the adding type.
Enter the device Serial No. on the label of the wireless camera.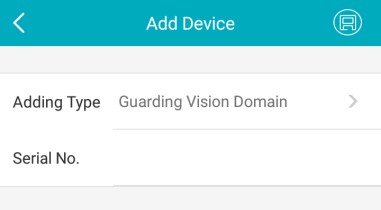
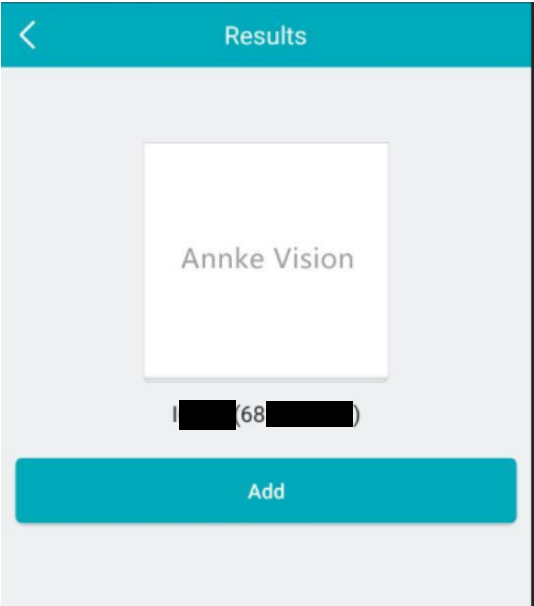
- Tap
 to store.
 - Tap Add on the Result page.
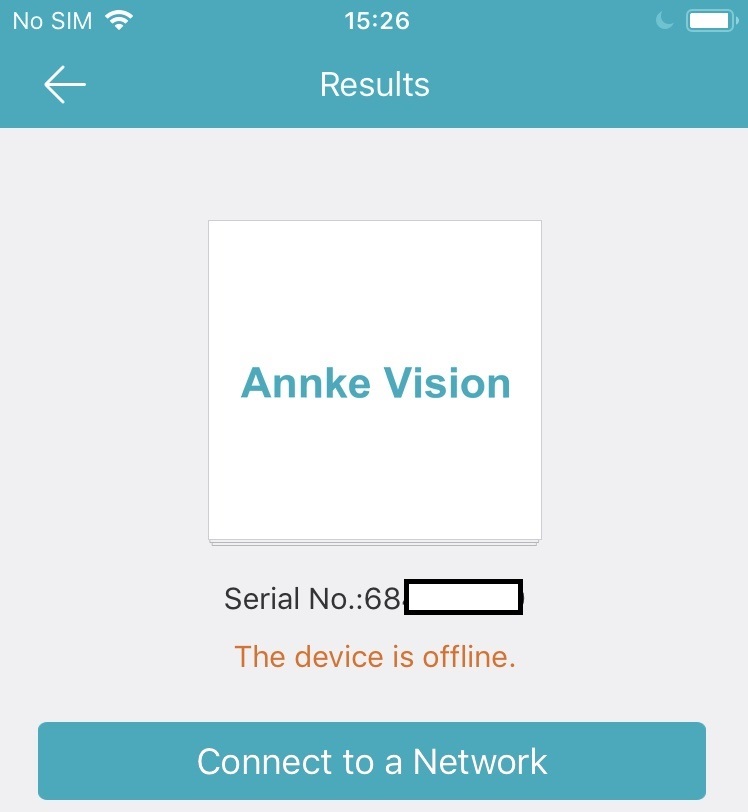
- Then turn on the Results page, tap Connect to a Network.
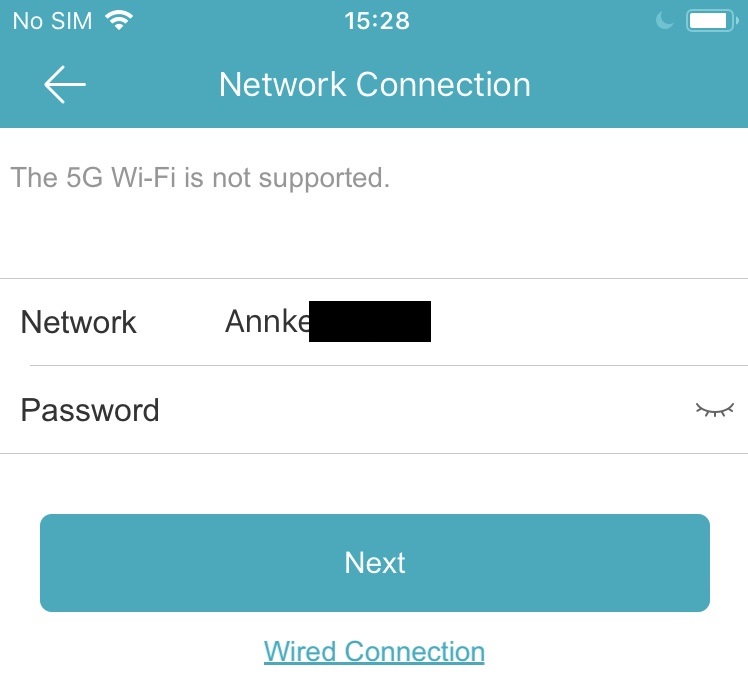
- Read the detail of pages, then tap OK on the Initialize Device page to enter the Network Connection page.
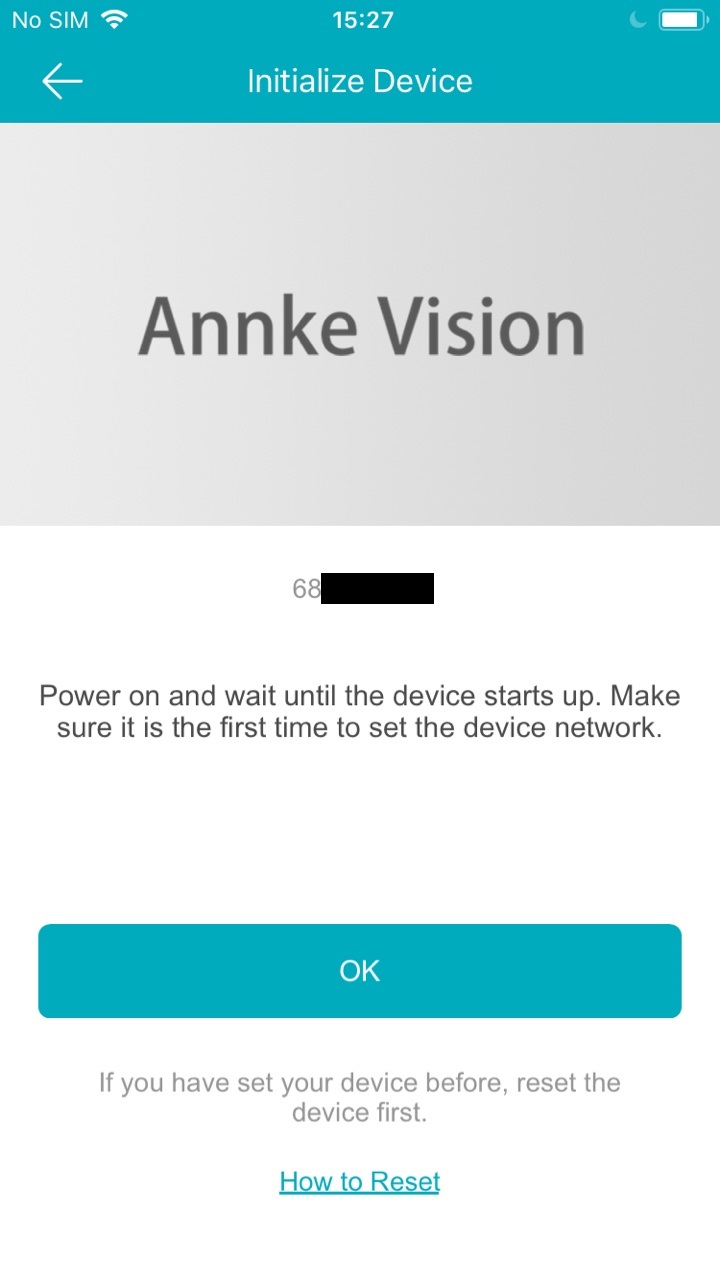
Note: If you have set the device before, you should reset the device. - Enter the Wi-Fi's password and tap Next to connect the network.
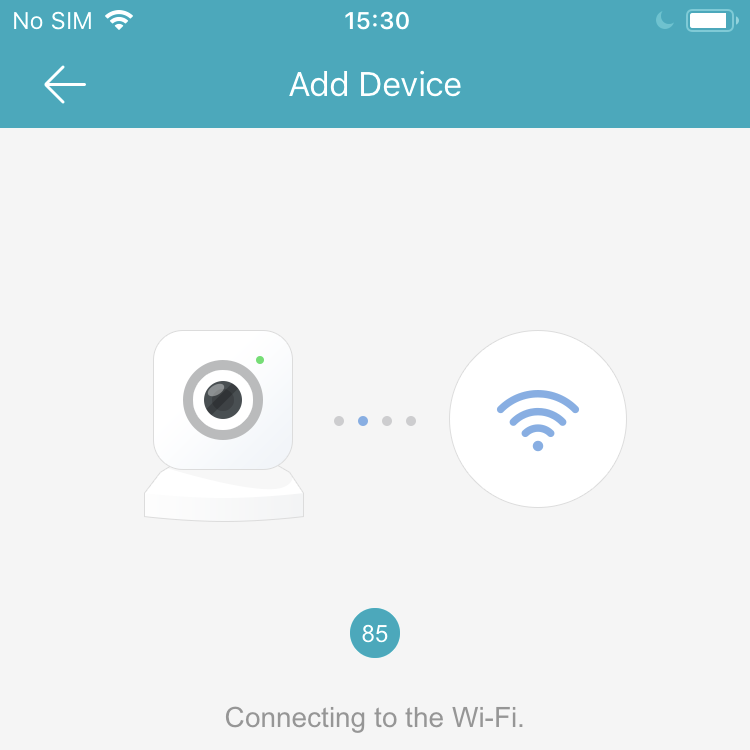
- Waiting to connect the Wi-Fi.
- Then in the pop-out windows input the verification code and click OK.
Note: Normally, the verification code is printed on the bottom label of the camera.
10. Then you have successfully added the device, and tap Finish to complete the Adding.
Note: You can also connect the wireless camera via a wireless network. (adding by scanning QR code)
Comments
0 comments
Article is closed for comments.