
Applies to: N48PI/N44PI/N46PI/N44PAM/N48PAW/N46PCK/N88PCH/N441Y/N481Y/DT41Y/DT61Y/DT81Y/DN41R/DN61R/DN81R/DT41GB/DT81GB/DT61GB/DT41DB/DT81DB/DT61EQ/DW41JD/DW81KD/DW61LD/S500/S300/FC200/NCK800/H800/H500
Purpose:
If your NVR is set to use PPPoE as its default network connection, you may set Dynamic DNS (DDNS) to be used for network access. Prior registration with your ISP is required before configuring the system to use DDNS.
After the configuration on your DVR/NVR, you should also configure the same parameter on your router. Due to the router settings of different manufacturers are not the same, if necessary, you can consult your router manufacturer on how to configure.
Before you start:
- You should log in to your NVR.
- Click Menu > Configuration > Network > DDNS.
Steps:
- Enter into the DDNS settings interface.
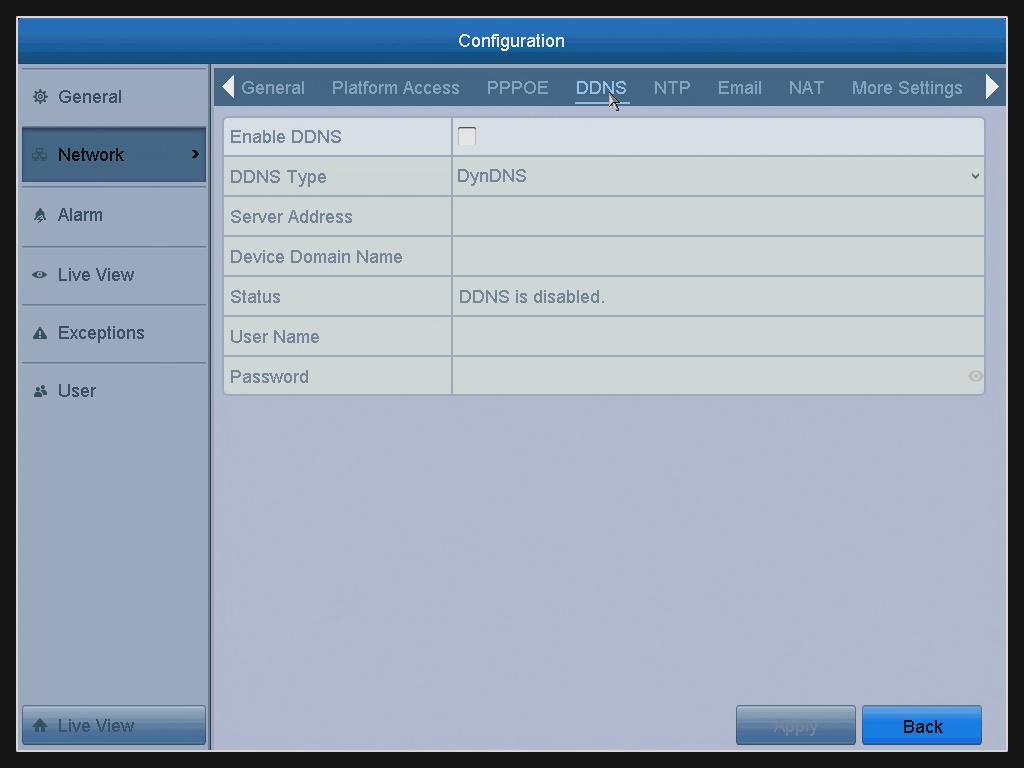
- Tick the DDNS checkbox to enable this feature, then you can configure the below options.
-
Select DDNS Type: Three DDNS types are selectable: DynDNS, PeanutHull, NO-IP.
1) DynDNS: Enter Server Address for DynDNS (i.e. members.dyndns.org).
In the NVR Domain Name text field. enter the domain obtained from the DynDNS website.
Enter the User Name and Password registered in the DynDNS.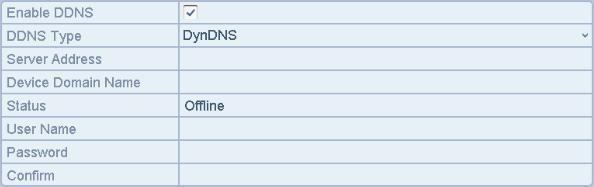
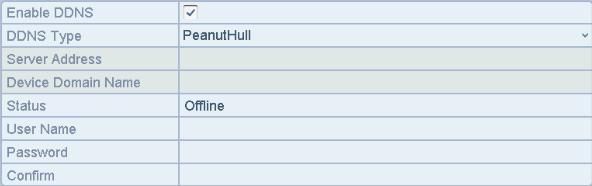
2) PeanutHull: Enter the User Name and Password obtained from the PeanutHull website.
3) NO-IP: Enter the account information in the corresponding fields. Refer to the DynDNS settings.
Enter Server Address for NO-IP.
In the NVR Domain Name text field, enter the domain obtained from the NO-IP.
Enter the User Name and Password registered in the NO-IP website.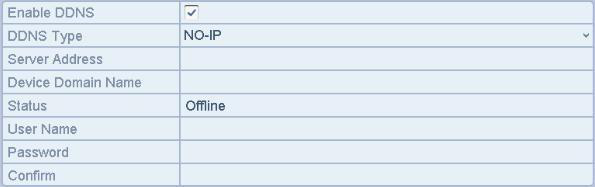
-
Click the Apply button to save the settings.
After setting all the required parameters for the DDNS, you can view the connecting status of the device by checking the Status information.
Comments
0 comments
Article is closed for comments.