
Applies to: I41EJ/I71BK
Before you start:
Before connecting your camera to Myannke:
- Please confirm your home Wi-Fi network is 2.4G.
- Meanwhile, please make sure your phone is connected to the 2.4G WiFi.
- Additionally, please put this camera as close as possible to your router and your phone, it will help you to connect your home Wi-Fi easier.
Steps:
- After successfully register and sign in Myannke, you should be brought to the device list screen. You can see it's initially empty because you have not added any camera on it.
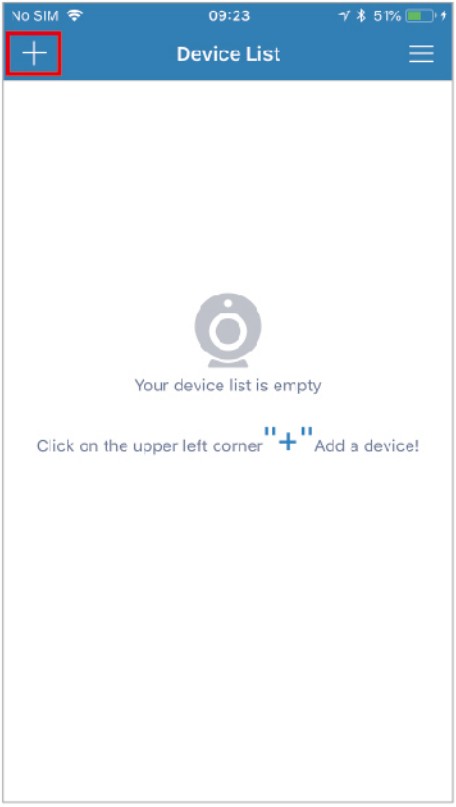
- Add a device by tapping the plus icon at the top left and select the device model, which will direct you to the QR Code Scan page.

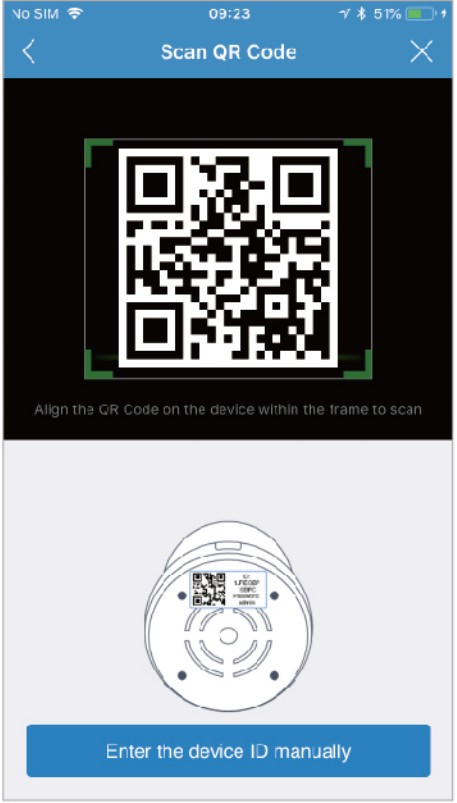
- Scan the QR code on the camera. A device ID should be automatically filled in the 'device ID' input box if it scans successfully. Input the camera's password (the default password is admin). Then tap 'Add' to continue.

- Then, it will direct you to the 'Network connection method' page.

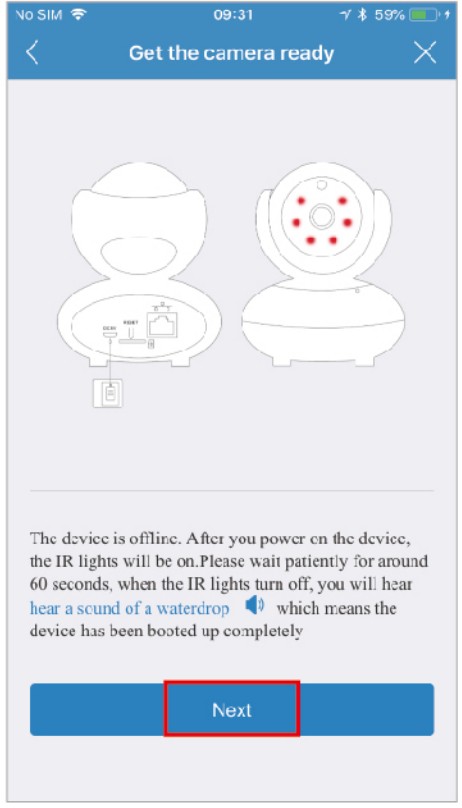
- After you choose the "Wi-Fi , you should be asked to connect your power supply equipment. Plug in the power source to power on the camera and leave the network cable unplugged, wait for 60 seconds to allow the camera to get ready. The camera is ready once you hear a "tick" sound after connecting the power for 60 seconds. Then, tap 'Next' to enter next step.
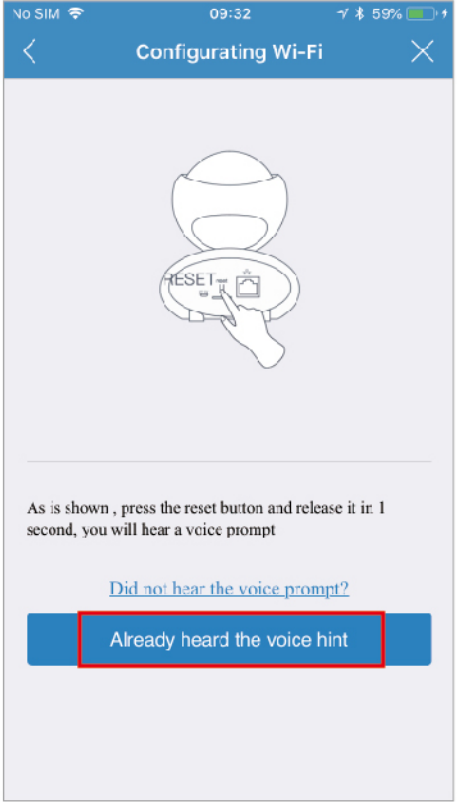
- Please press the RESET button for 1 second to reset the camera. After hearing the voice prompts (waiting for receiving wireless configuration information), tap 'Next'.
- Then the Wi-Fi network name will automatically display. Please input your Wi-Fi password and tap the 'Next'.
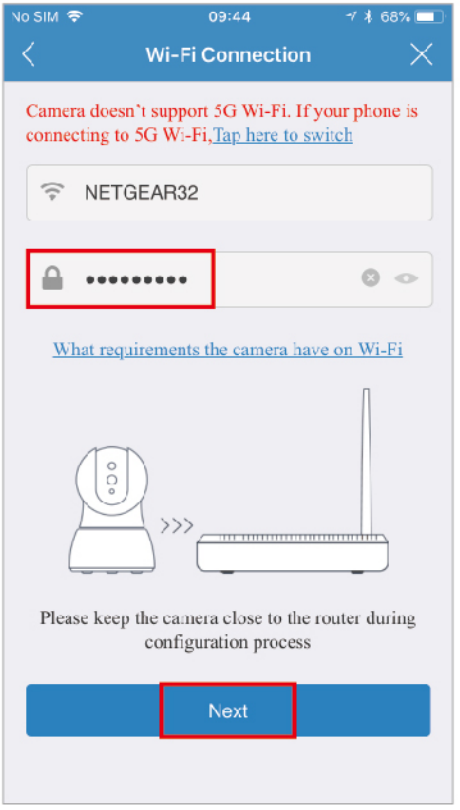
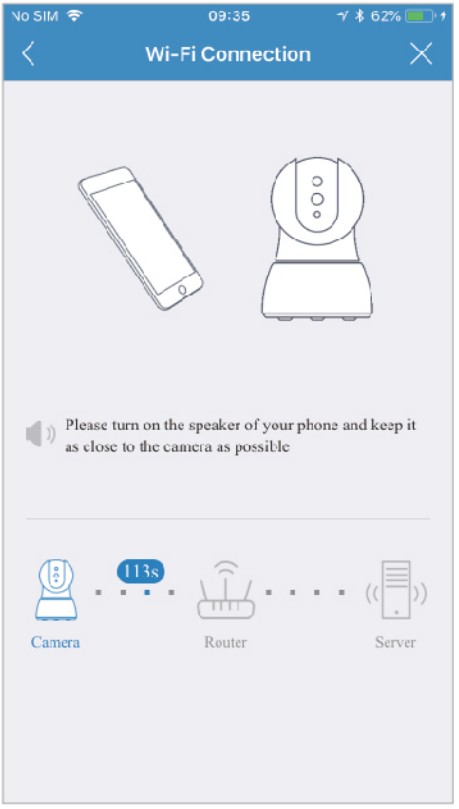
- It will direct you the Wi-Fi connection interface. In order to make the camera connect your Wi-Fi successfully, please confirm your phone has connected 2.4G Wi-Fi network that you would like the camera to connect, and keep your phone close to the Mic of the camera (The max distance is 6ft).
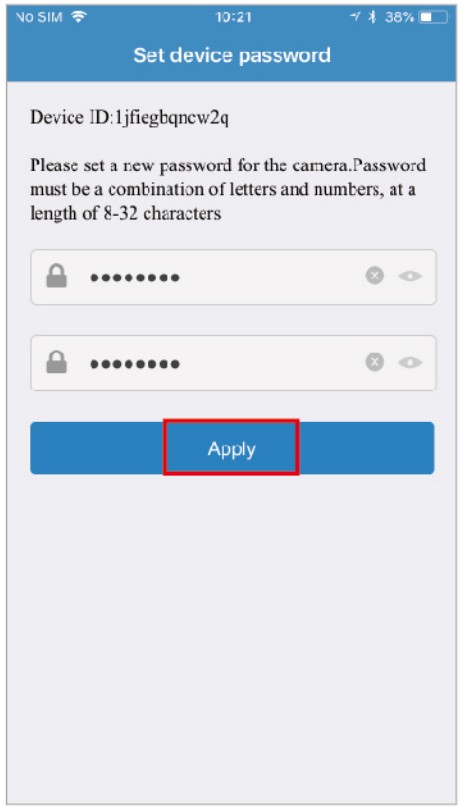
- After the Wi-Fi connection succeeded, you should be asked to modify your camera password. Please input your new camera password and click 'Apply'.
- Please modify your camera name (you can skip this step)
- Congratulations! You add this IP camera successfully.

Comments
0 comments
Article is closed for comments.